

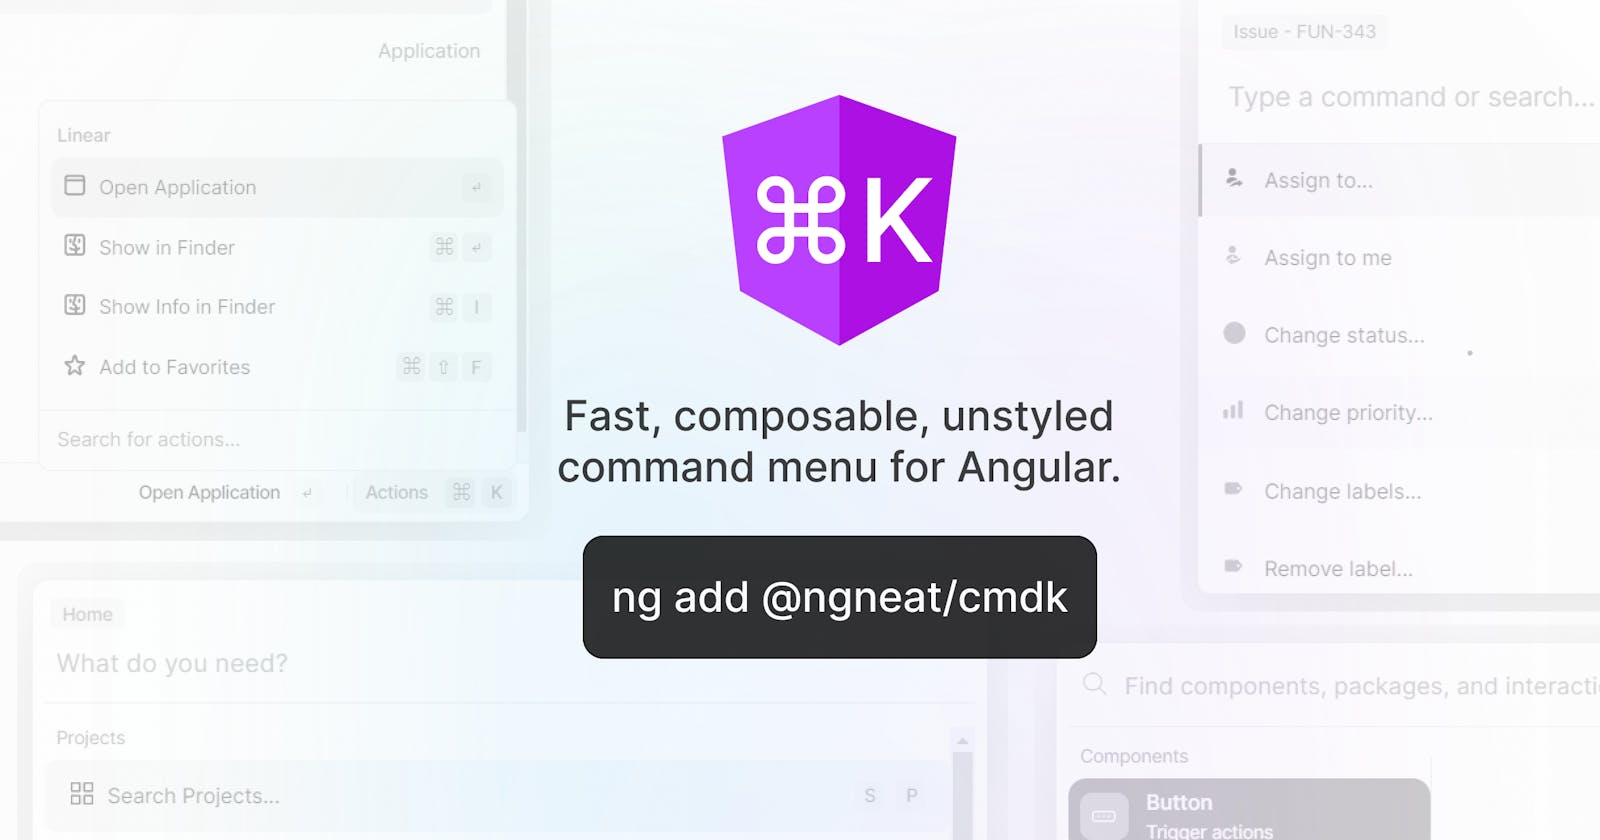
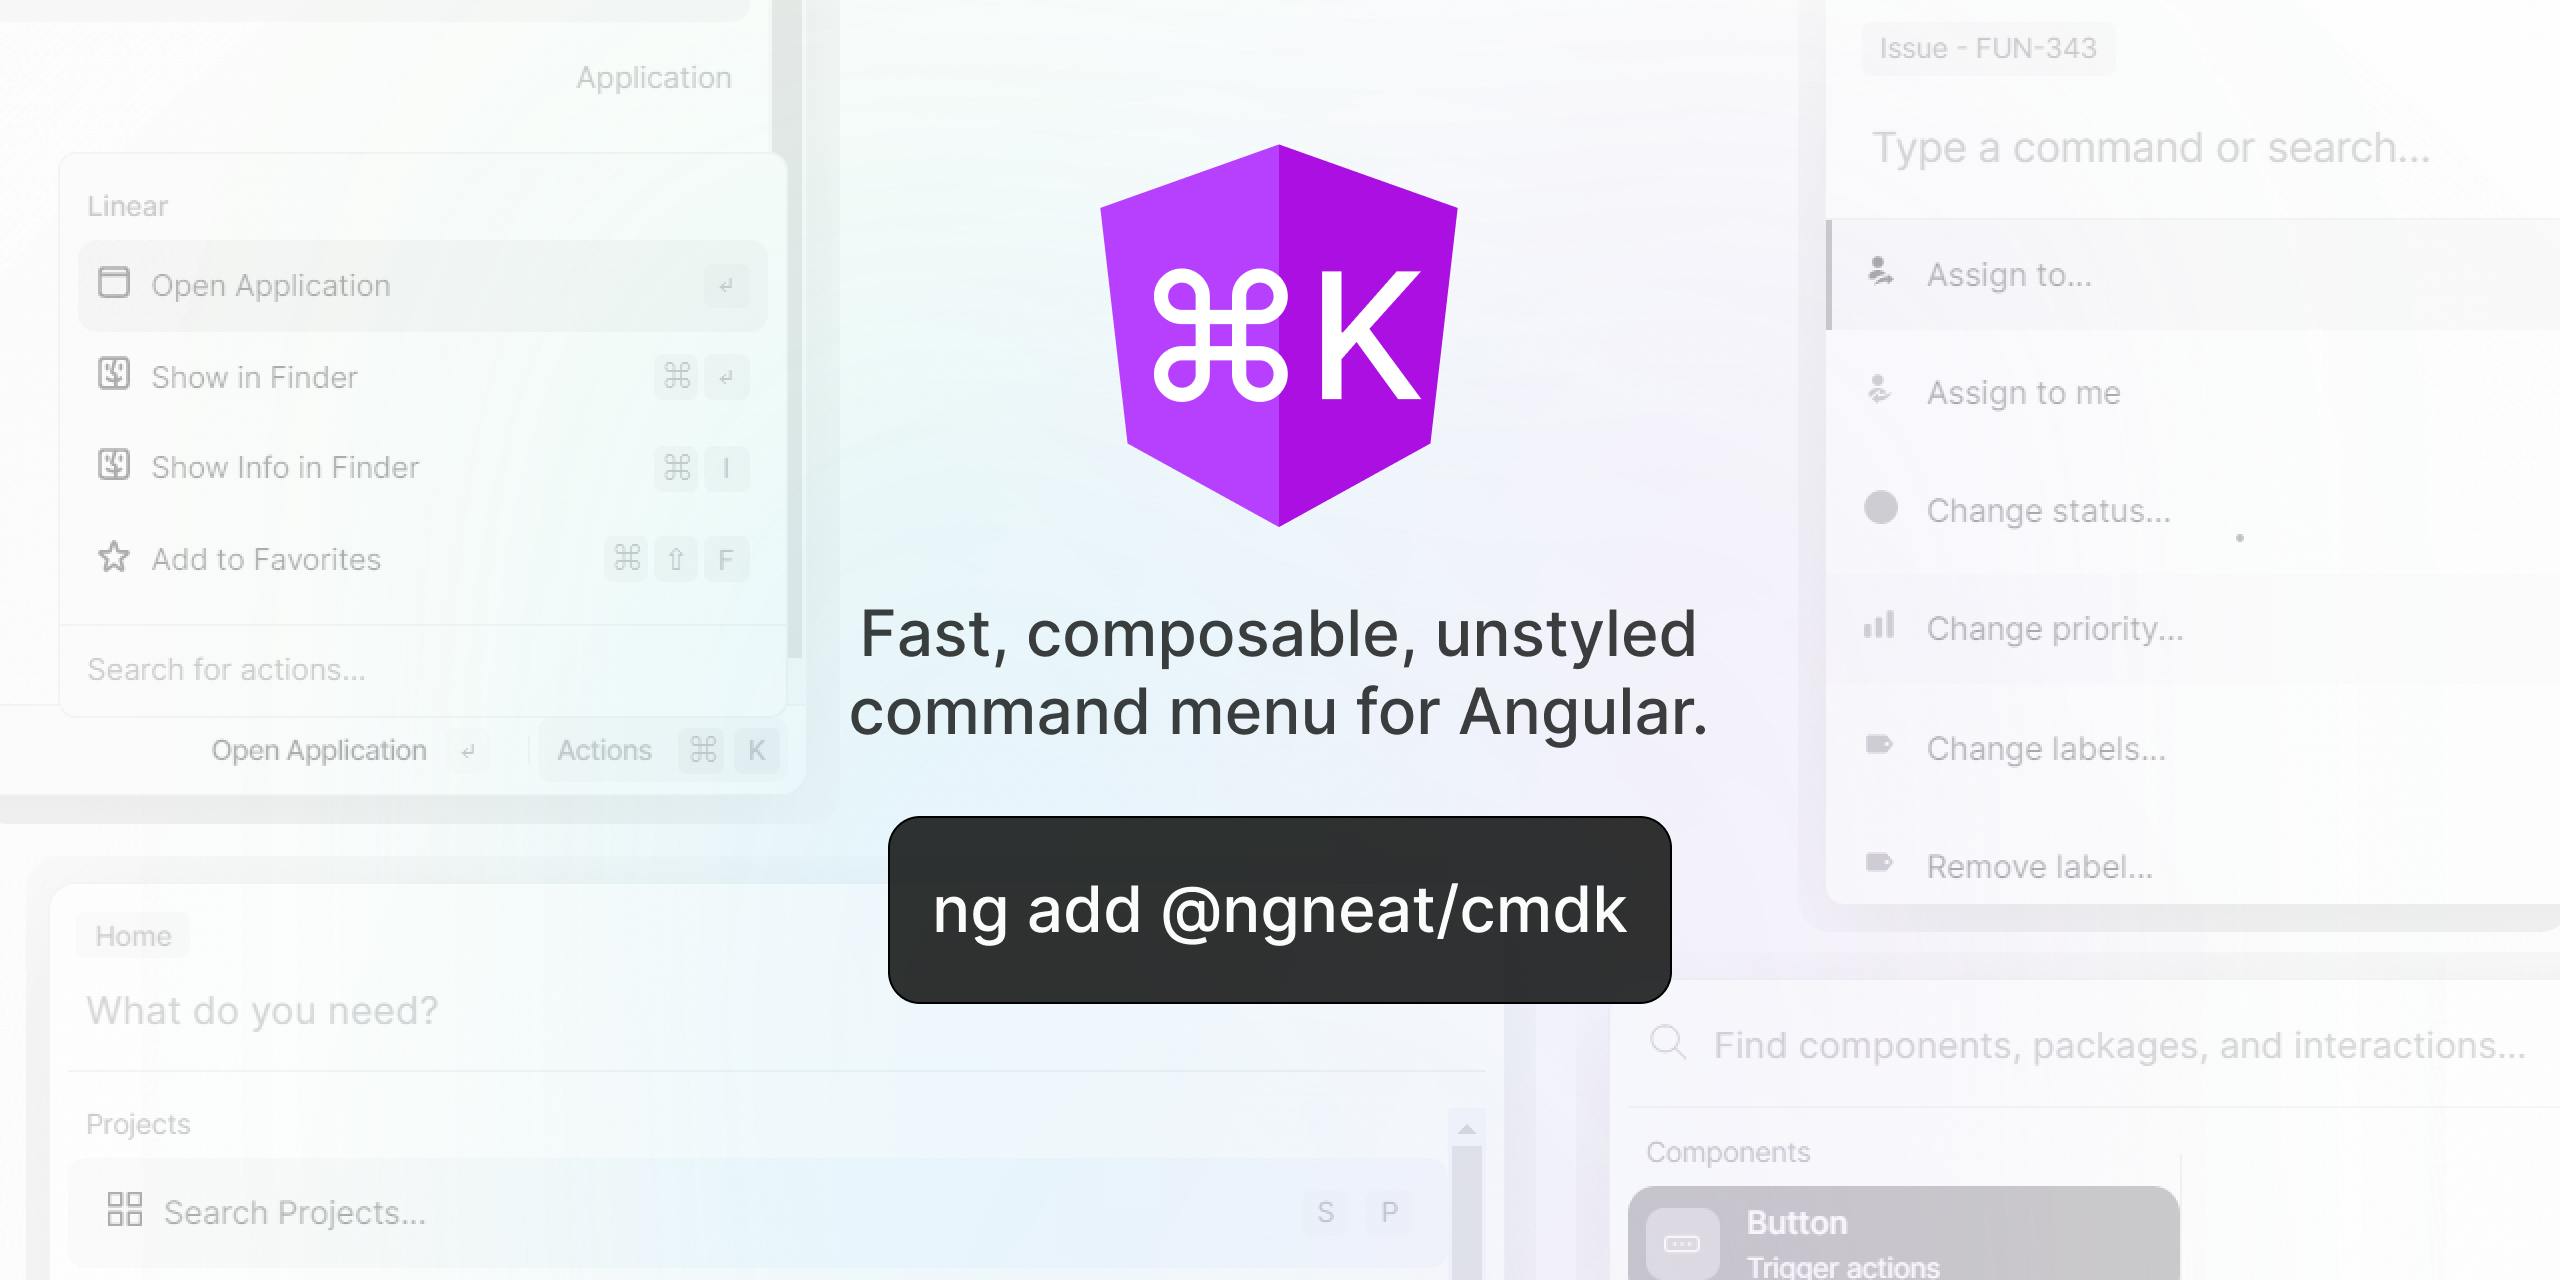
Announcing @ngneat/cmdk — Fast, composable, unstyled command menu for Angular.


A few weeks ago I and Netanel Basal came up with an idea to create cmdk like a library for the Angular community.
And I am really glad that we ended up creating it, announcing...
🎉 @ngneat/cmdk — Fast, composable, unstyled command menu for Angular.
Getting Started
You can install it through Angular CLI:
ng add @ngneat/cmdk
or with npm:
# First, install dependencies
npm install @ngneat/overview @ngneat/until-destroy @angular/cdk

npm install @ngneat/cmdk
When you install using npm or yarn, you will also need to import CmdkModule in your app.module.
import { CmdkModule } from '@ngneat/hot-toast';

@NgModule({
  imports: [CmdkModule.forRoot()],
})
class AppModule {}
Features
🎨 Un-styled, so that you can provide your styles easily
🥙 Provides wrapper, so that you can pass your template, component or static HTML
🔍 Default filtering present
🖼️ Drop in stylesheet themes provided
♿ Accessible
⌨️ Keyboard interaction
Here are some basic examples:
<cmdk-command>
  <input cmdkInput />
  <cmdk-list>
    <div *cmdkEmpty>No results found.</div>
    <cmdk-group label="Letters">
      <button cmdkItem>a</button>
      <button cmdkItem>b</button>
      <cmdk-separator></cmdk-separator>
      <button cmdkItem>c</button>
    </cmdk-group>
  </cmdk-list>

  <button cmdkItem>Apple</button>
</cmdk-command>
Nested items
Often selecting one item should navigate deeper, with a more refined set of items. For example, selecting "Change theme…" should show new items "Dark theme" and "Light theme". We call these sets of items "pages", and they can be implemented with a simple state:
<cmdk-command (keydown)="onKeyDown($event)">
  <input cmdkInput (input)="setSearch($event)" />
  <ng-container *ngIf="!page">
    <button cmdkItem (selected)="setPages('projects')">Search projects...</button>
    <button cmdkItem (selected)="setPages('teams')">Join a team...</button>
  </ng-container>
  <ng-container *ngIf="page === 'projects'">
    <button cmdkItem>Project A</button>
    <button cmdkItem>Project B</button>
  </ng-container>
  <ng-container *ngIf="page === 'teams'">
    <button cmdkItem>Team 1</button>
    <button cmdkItem>Team 2</button>
  </ng-container>
</cmdk-command>
pages: Array<string> = [];
search = '';

get page() {
  return this.pages[this.pages.length - 1];
}

onKeyDown(e: KeyboardEvent) {
  // Escape goes to previous page
  // Backspace goes to previous page when search is empty
  if (e.key === 'Escape' || (e.key === 'Backspace' && !this.search)) {
    e.preventDefault();
    this.pages = this.pages.slice(0, -1);
  }
}

setSearch(ev: Event) {
  this.search = (ev.target as HTMLInputElement)?.value;
}

setPages(page: string) {
  this.pages.push(page);
}
Asynchronous results
Render the items as they become available. Filtering and sorting will happen automatically.
<cmdk-command [loading]="loading">
  <input cmdkInput />
  <div *cmdkLoader>Fetching words...</div>
  <button cmdkItem *ngFor="let item of items" [value]="item">
    {{item}}
  </button>
</cmdk-command>
loading = false;

getItems() {
  this.loading = true;
  setTimeout(() => {
    this.items = ['A', 'B', 'C', 'D'];
    this.loading = false;
  }, 3000);
}
Use inside Popover
We recommend using the Angular CDK Overlay. @ngneat/cdk relies on the Angular CDK, so this will reduce your bundle size a bit due to shared dependencies.
First, configure the trigger component:
<button (click)="isDialogOpen = !isDialogOpen" cdkOverlayOrigin #trigger="cdkOverlayOrigin" [attr.aria-expanded]="isDialogOpen">
  Actions
      <kbd>⌘</kbd>
      <kbd>K</kbd>
</button>
<ng-template
  cdkConnectedOverlay
  [cdkConnectedOverlayOrigin]="trigger"
  [cdkConnectedOverlayOpen]="isDialogOpen"
>
  <app-sub-command-dialog [value]="value"></app-sub-command-dialog>
</ng-template>
isDialogOpen = false;

listener(e: KeyboardEvent) {
  if (e.key === 'k' && (e.metaKey || e.altKey)) {
    e.preventDefault();
    if (this.isDialogOpen) {
      this.isDialogOpen = false;
    } else {
      this.isDialogOpen = true;
    }
  }
}

ngOnInit() {
  document.addEventListener('keydown', (ev) => this.listener(ev));
}

ngOnDestroy() {
  document.removeEventListener('keydown', (ev) => this.listener(ev));
}
Then, render the cmdk-command inside CDK Overlay content:
<div class="cmdk-submenu">
  <cmdk-command>
    <cmdk-list>
      <cmdk-group [label]="value">
        <button cmdkItem *ngFor="let item of items" [value]="item.label">
          {{ item.label }}
        </button>
      </cmdk-group>
    </cmdk-list>
    <input cmdkInput #input placeholder="Search for actions..." />
  </cmdk-command>
</div>
readonly items: Array<{ label: string }> = [
  {
    label: 'Open Application',
  },
  {
    label: 'Show in Finder',
  },
  {
    label: 'Show Info in Finder',
  },
  {
    label: 'Add to Favorites',
  },
];

ngAfterViewInit() {
  this.input.nativeElement.focus();
}
Drop in stylesheets
You can use the provided global stylesheets to drop in as a starting point for styling.
First, include the SCSS stylesheet in your application's style file:
// Global is needed for any theme
@use "../node_modules/@ngneat/cdk/styles/scss/globals";

// Then add theme
@use "../node_modules/@ngneat/cdk/styles/scss/raycast";
// @use "../node_modules/@ngneat/cdk/styles/scss/vercel";
// @use "../node_modules/@ngneat/cdk/styles/scss/framer";
// @use "../node_modules/@ngneat/cdk/styles/scss/linear";
or, use pre-built CSS file in angular.json
// ...
"styles": [
  "...",
  "node_modules/@ngneat/cdk/styles/globals.css"
  "node_modules/@ngneat/cdk/styles/raycast.css"
],
// ...
And then wrap your cmdk-command in respective theme class:
<div class="raycast">
  <cmdk-command>
    <!-- ... -->
  </cmdk-command>
</div>
And the output will be like the below:
Check out theme code examples at cmdk/src/app/themes.
Live Demo
A live demo is available at below link:
Time to give a ⭐
If you liked our library, don't forget to give a ⭐ at the below link:
Do check out the library and let us know your feedback. You can reach out to me at @shhdharmen.
Happy Coding
🌲 🌞 😊