


When we create schematics, we sometimes face a situation where we want to run other existing schematics from the same or external collection. In this article we will learn how to do it.
A schematic is a code generator, which follows a set of instructions and transforms your project by adding or modifying the code.
The schematic collection can be a powerful tool for creating, modifying, and maintaining any angular project. You might use schematics, for example, to generate commonly-used UI patterns or specific components, using predefined templates or layouts. You can use schematics to enforce architectural rules and conventions, making your projects consistent and inter-operative.
Sometimes we need to run other existing schematics from the same or external collection. Let's see when you might need this.
Use Cases
Following are some of use cases when running other schematics are required:
- Repeated pattern across files based on existing boiler-plate
This can be specific to your team’s project, where you want everyone to follow the same boilerplate. And you want to create boiler-plate on top of existing ones. @maciej_wwojcik has written great article about it: Extend Angular Schematics to customize your development process - Angular inDepth
- Need to execute the same instructions available in other schematics
Let’s say with your schematic, you also want to pack some other schematic’s features. For example, you want to create a generic library generator, which works with both Angular and NX, for that, utilizing Angular’s and Nx’s library generator schematics becomes handy.
- Decouple set of instructions for better usability
This can be helpful when you have many tasks going on with a single schematic, but you also want users to run only specific ones. For example, you have a main-schematic, which runs task-1 and task-2. Now to give users the option to run only task-2, you can create one more schematic just to run task-2 and refactor your main-schematic.
For above use cases, we just have to figure out how to give our schematics an instruction to run another schematic. Let’s see.
Provide instructions to the schematic
There are mainly 2 ways we can execute other schematic code from inside the current schematic:
- Create a rule - A
Ruleobject defines a function that takes a Tree, applies transformations, and returns a newTree. The main file for a schematic,index.ts, defines a set of rules that implement the schematic's logic. - Add task in context - Each schematic runs in a context, represented by a
SchematicContextobject. Adding tasks incontextis useful when you want to perform operations on tree generated through current execution, like installing packages, performing linting/formatting, etc.
And there can be 2 types of schematics which can be run:
- Schematic from our collection
- Schematic from external collection
So basically there are 4 combinations we’ll explore in this article:
- Create a rule to run Schematic from our collection
- Create a rule to run Schematic from external collection
- Add task in context to run Schematic from our collection
- Add task in context to run Schematic from external collection
Create schematics
Let’s first create a schematics project named run-schematics:
npm install -g @angular-devkit/schematics-cli
schematics blank --name=run-schematics
cd ./run-schematics
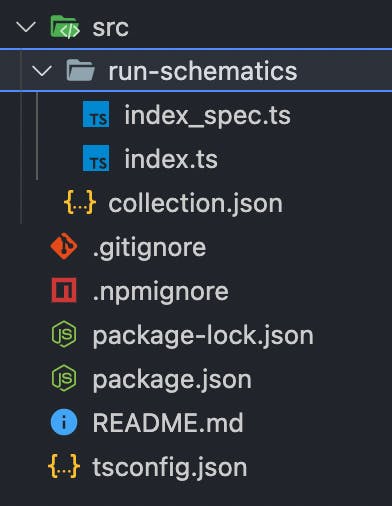
The command above created a schematics collection named run-schematics. It also created a blank schematic named run-schematics. You will see below project structure created for you:
Let’s add one more schematic in the same collection:
schematics blank --name=child-schematic
Above command will add a schematic named child-schematic in the collection.
Let’s modify child-schematic:
// src/child-schematic/index.ts

import { Rule, SchematicContext, Tree } from '@angular-devkit/schematics';

export function childSchematic(_options: any): Rule {
  return (tree: Tree, _context: SchematicContext) => {
    _context.logger.info('Hi from child-schematic');
    return tree;
  };
}
Next, let’s build run-schematics collection:
npm run build
You will need to run build each time when you make changes in the schematics.
To use run-schematics in any project, we will also link it:
npm link
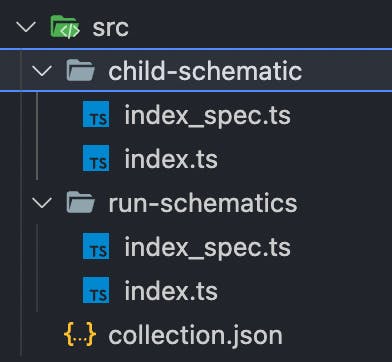
At this point, our project folder looks like below:
Now, go to your angular project, link the schematics and run it:
cd ./path/to/angular/project
npm link run-schematics

ng g run-schematics:run-schematics
# Nothing to be done

ng g run-schematics:child-schematic
# Hi from child-schematic
# Nothing to be done
Create rules
We will use schematic and externalSchematic functions from @angular-devkit/schematics to create rules.
Create a rule to run schematics from same collection
Let’s modify run-schematics:
// src/run-schematics/index.ts

export function runSchematics(_options: any): Rule {
  return (_tree: Tree, _context: SchematicContext) => {
    const rule = schematic("child-schematic", _options);
    return rule;
  };
}
We are using schematic function, which returns a Rule and it takes 2 arguments:
schematicName- The name of the schematic to runoptions- The options to pass as input to the RuleFactory
Let’s now run the schematics:
ng g run-schematics:run-schematics
# Hi from child-schematic
# Nothing to be done
Create a rule to run schematics from external collection
// src/run-schematics/index.ts

export function runSchematics(_options: any): Rule {
  return (_tree: Tree, _context: SchematicContext) => {
    const rule1 = schematic("child-schematic", _options);

    const rule2 = externalSchematic(
      "@schematics/angular",
      "component",
      _options
    );

    return chain([rule1, rule2]);
  };
}
We are using the externalSchematic function, it returns a Rule. It takes 3 arguments:
collectionName- The name of the collection that contains the schematic to run- Rest 2 are same as schematic function
Let’s try to run the schematics:
ng g run-schematics:run-schematics
            Hi from child-schematic
? What name would you like to use for the component? hero
CREATE src/app/hero/hero.component.ts (259 bytes)
UPDATE src/app/app.module.ts (738 bytes)
Add tasks in context
To add tasks in SchematicContext, we will use its addTask method. addTask method takes an argument of type TaskConfigurationGenerator.
There are total 4 task classes which implements TaskConfigurationGenerator:
NodePackageInstallTaskNodePackageLinkTaskRepositoryInitializerTaskRunSchematicTask
For our use-case, we will use RunSchematicTask. It has 2 constructor overrides:
constructor(schemaName: string, options: T)- Runs schematic from the same collectionconstructor(collectionName: string, schemaName: string, options: T)- Runs schematic from the external collection
Our goal is to create a sub-application and perform linting on the newly created application.
For above goal, we will do as below:
- Create
lint-schematic- This will perform linting on the newly created sub-app - Create
lint-caller-schematic- This will create a sub-app and calllint-schematicthrough context’s task
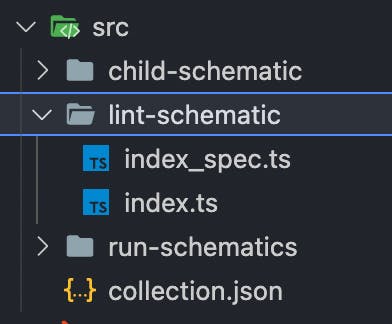
Let’s create lint-schematic first:
schematics blank --name=lint-schematic
Next, replace it’s content with below:
// src/lint-schematic/index.ts

import { Rule, SchematicContext, Tree } from "@angular-devkit/schematics";
import { execSync } from "child_process";

export function lintSchematic(_options: { name: string }): Rule {
  return (_tree: Tree, _context: SchematicContext) => {
    _context.logger.info(`Executing: npm run lint -- --fix ${_options.name}`);
    execSync("npm run lint -- --fix " + _options.name);
  };
}
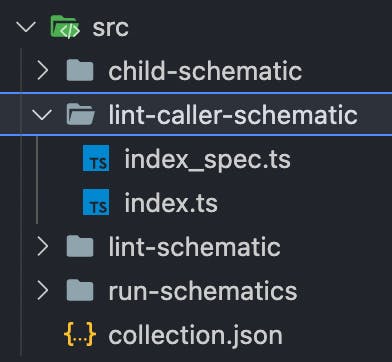
Let’s create lint-caller-schematic:
schematics blank --name=lint-caller-schematic
Modify it’s content with below:
// src/lint-caller-schematic/index.ts

import {
  externalSchematic,
  Rule,
  SchematicContext,
  Tree,
} from "@angular-devkit/schematics";
import { RunSchematicTask } from "@angular-devkit/schematics/tasks";

export function lintCallerSchematic(_options: any): Rule {
  return (_tree: Tree, _context: SchematicContext) => {
    const rule = externalSchematic(
      "@schematics/angular",
      "application",
      _options
    );

    _context.addTask(new RunSchematicTask("lint-schematic", _options));

    return rule;
  };
}
Let’s now run the schematic:
ng g run-schematics:lint-caller-schematic --name=sub-app --defaults
Above schematic will create a sub-app application in your angular workspace and it will also run npm run lint --fix sub-app once the project is created.
To add schematic from external collection in context, you will have to use same class RunSchematicTask, but provide one more argument for collection name:
_context.addTask(new RunSchematicTask("@schematics/angular", "service", _options));
Summary
We learned various use-cases when running a schematic from our schematic can be helpful. I am sure this will help you create much more advanced library schematics.
Let’s quickly revise all the ways:
To run schematic from same collection
Create a rule
rule = schematic(schemaName, options)
Add task in context
context.addTask(new RunSchematicTask(schemaName, options))
To run schematic from external collection
Create a rule
rule = externalSchematic(collectionName, schemaName, options)
Add task in context
context.addTask(new RunSchematicTask(collectionName, schemaName, options))
Above schematics are available on GitHub.
Thanks for reading!
Credits
I would like to thanks @kasparovairina for creating great banner for this article.